Settings up Department ID’s in the KX Driver:
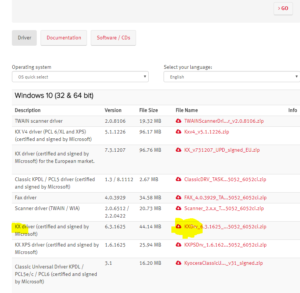
Step 1: Make sure the proper driver is installed, below is a link to the website where the KX driver is located along with a screenshot.
https://www.kyoceradocumentsolutions.eu/index/service/dlc.false.driver.TASKALFA5052CI._.EN.html#
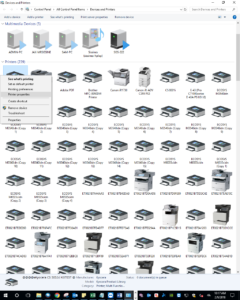
Step 2: Once the driver is installed go to devices and prints and right-click on the driver you wish to set up the department ID select printer properties.
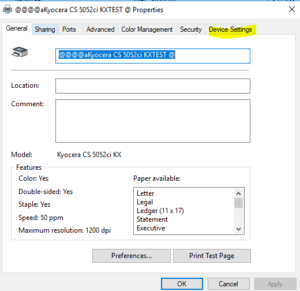
Step 3: Select the Device Settings tab
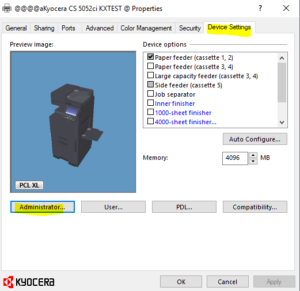
Step 4: Select Administrator.
Step 5: Select Job Accounting
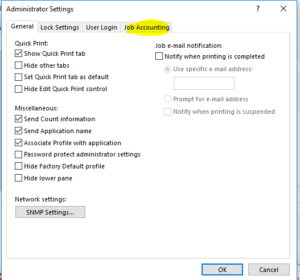
Step 6: Check the Job Accounting box
